Personalized Gift Ideas
Inkless vs. clay paw print kits: what to check
Compare paper prints and clay impressions, then check the kit's usable area, contact method and finishing instructions before choosing.
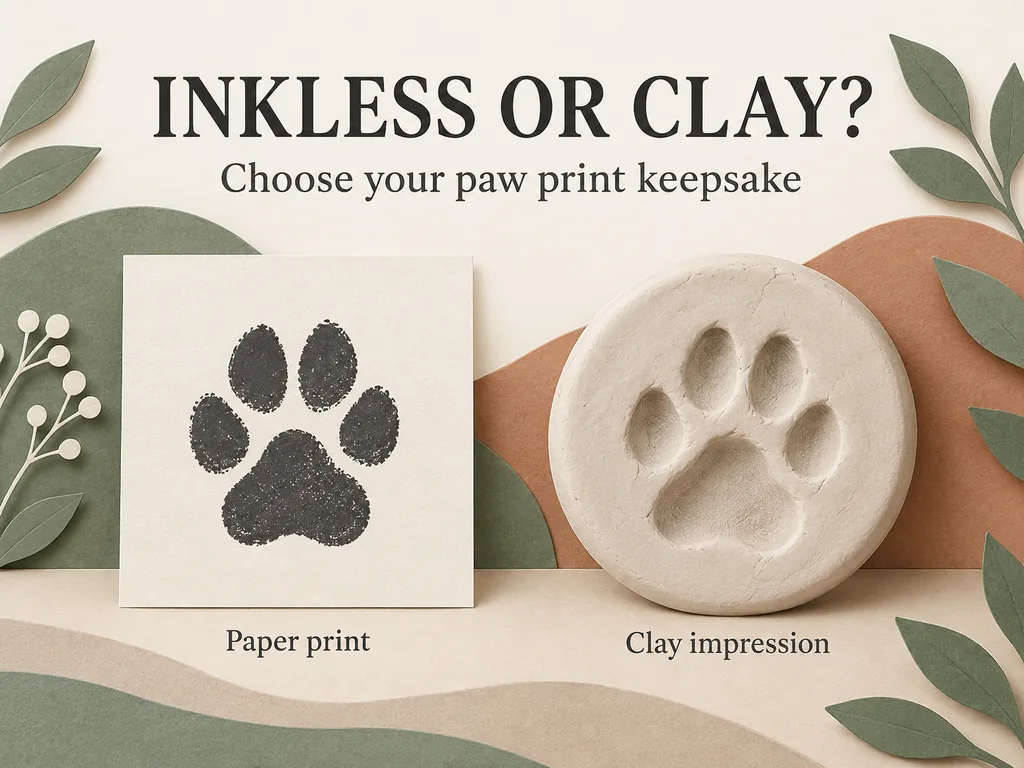
Choose a barrier-style inkless paw print kit if you want a flat print on paper. Consider a pet-specific clay kit if you want an impression with depth. Neither format is automatically better: the useful choice depends on the finished keepsake, the usable print area, and whether your pet is comfortable having a paw handled.
Before buying either, read the instructions for the exact kit. "Inkless" does not always mean the kit contains no ink, and "clay" does not tell you whether an impression should air-dry or be baked.
Start with the keepsake you want
A paw print for the corner of a birthday card calls for a different kit from an impression you want to set on a shelf. Paper fits into an album or a suitable picture frame. Clay needs room for its thickness, too.
This comparison covers clean-touch barrier pads and pet-specific impression clay. Other products sold as "inkless" may work differently.
| Question | Barrier-style inkless pad | Pet-specific clay kit |
|---|---|---|
| What do you keep? | A flat image on the supplied or specified paper | A recessed impression in the material |
| What touches the paw? | The designated clean side of the pad when used as directed | The impression material |
| What needs checking before use? | Pad orientation, printable area, paper, and number of permitted uses | Preparation, working area, material instructions, and setting method |
| What happens afterward? | Allow the print to dry as directed before touching or framing it | Follow the exact air-drying or baking instructions before display |
| What display space is needed? | Room for the whole print and any surrounding border | Enough width and depth for the finished piece without pressure on it |
If you already have a frame in mind, measure its opening before shopping. Finding out afterward that the print will not fit creates a second project you may not want.
Read past the word "inkless"
Some clean-touch pads contain ink but keep the paw on the other side of a barrier. For example, Pearhead describes its M/L Clean-Touch pad as keeping a pet's paw from touching the ink. That claim concerns that design used correctly; it does not describe every kit with "inkless" in its title.
Find the diagram that shows which side faces the paper. The clean side belongs against the paw; reversing a barrier pad defeats its purpose. If you cannot tell which is which, leave it unopened and ask the maker.
Check the allowed number of attempts as well. Pearhead's FAQ states a maximum of two uses for its ink pads. Other kits may differ, so an extra sheet of paper does not necessarily give you an extra usable attempt. Read the allowance before spending it on practice prints.
Clay kits do not all set the same way
There is no universal drying or baking instruction for a clay paw print. Pearhead's Pawprints Keepsake uses air-drying clay and says no baking is required. By contrast, Veterinary Wisdom's ClayPaws instructions require the impression to be baked. Neither instruction should be borrowed for an unidentified material.
Read the finishing steps before you make the impression. You may need to leave a piece undisturbed or use equipment you have not set out. Keep the instructions, even after the box goes into recycling.
A pet-use label is not permission to let a pet chew or swallow the material. Keep the kit under adult supervision, follow its contact and cleanup instructions, and put unused material away. Do not substitute household paint, craft clay, or a homemade mixture based only on a general "non-toxic" label. This comparison does not establish that an unspecified material is suitable for your pet's paws.
Check the usable area, not the packaging
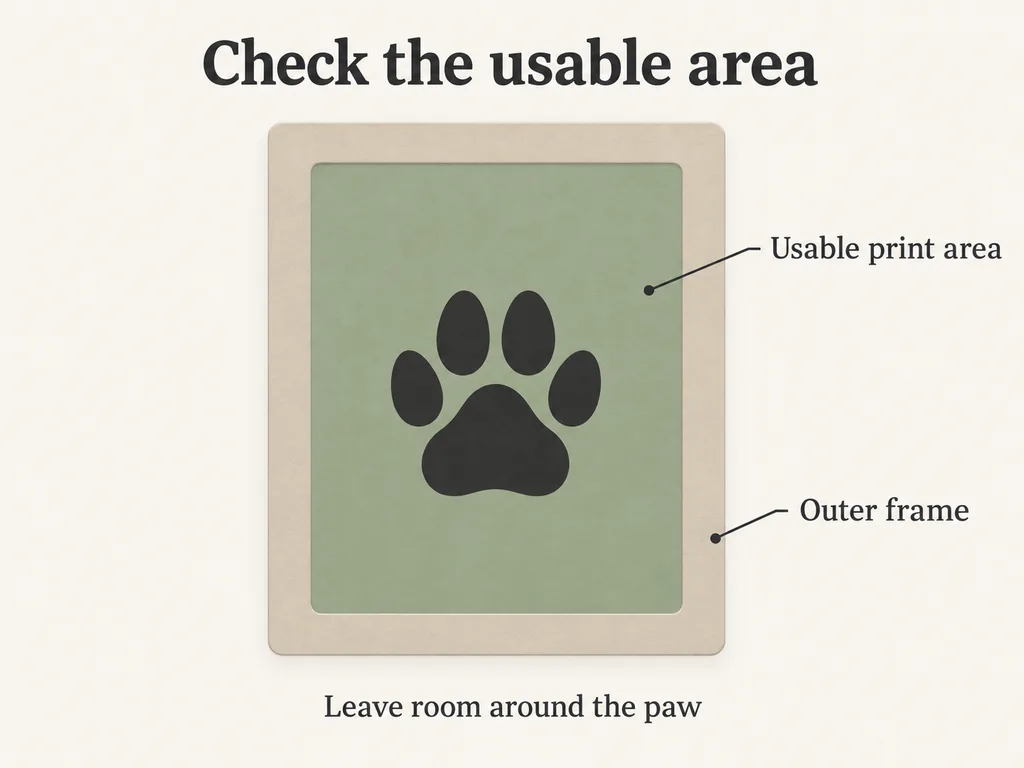
Look for the dimensions of the area that will actually hold the print. An ink pad can have a wide border that does not print. A frame's overall width might include two photo openings as well as the paw-print space.
Ask for the actual printing window or impression area, and allow space around the intended print. Check the finished piece against the visible opening of a frame, not only the frame's outer dimensions. For clay, include its thickness in that check.
For a photo-and-print display, Morylane's pet clay paw print frame with two photo windows shows one possible layout. Its listing does not specify exact photo-opening measurements, so confirm the usable spaces and the supplied material's instructions before planning your print.
The three-window pet paw print frame is another layout to compare. Its stated inner size is the whole inner area, not each opening. The listing includes a pad and paper; do not infer the pad's contact method from the frame's name or display picture.
Keep the attempt comfortable
Get the materials ready before bringing your pet over. You should not have to hold a paw while looking for the paper or rereading the directions. Keep the attempt short, with your pet supported in a comfortable position.
If they pull a paw away, tense up, or struggle, stop. Do not hold them down to finish a keepsake. Fear Free's nail-care guidance advises progressing with paw handling only while the pet is comfortable. That is a useful handling principle here, not an endorsement of any print kit.
If a paw seems painful or injured, put the kit away and ask your veterinarian. If your pet simply does not want their paws touched, a photograph is another way to keep the memory.
Save the print and its instructions
Finish the print according to its own instructions before you frame or store it. Do not borrow a drying time, oven temperature, or coating recommendation from a different material. If someone else made the impression, ask them which product they used and whether it is already finished.
Once the piece is ready to handle, photograph the whole print in even light without cropping its edges. Keep that original file separately from any version you edit. You will have another record to use in an album, although a photograph cannot replace the depth of the clay original.
Store the kit name and care instructions with the keepsake. For a collection that also includes a photo, tag, or note, our guide to creating a pet keepsake box explains how to give different objects their own space.
Quick questions
Which type is easier to use?
That depends on the kit and your pet. Compare the actual preparation steps, permitted attempts, and finishing requirements. A simple-looking result may still need careful setup, and neither format removes the need for comfortable paw handling.
Can I use a kit with a cat?
Choose a product whose instructions explicitly cover cats, check the usable size, and consider whether your cat accepts paw handling. A kitten picture on the box does not replace instructions. Stop if your cat resists; a paw print is optional.
Should I bake an old clay print if I do not know what it is?
No. Identify the material and find its instructions first. Contact the person or clinic that supplied it rather than heating an irreplaceable impression on a guess.