Remembrance Ideas
How to make a pet memorial shadow box
Plan a pet memorial shadow box, check the space inside the frame, and choose ways to display photos and keepsakes without forcing or permanently altering them.
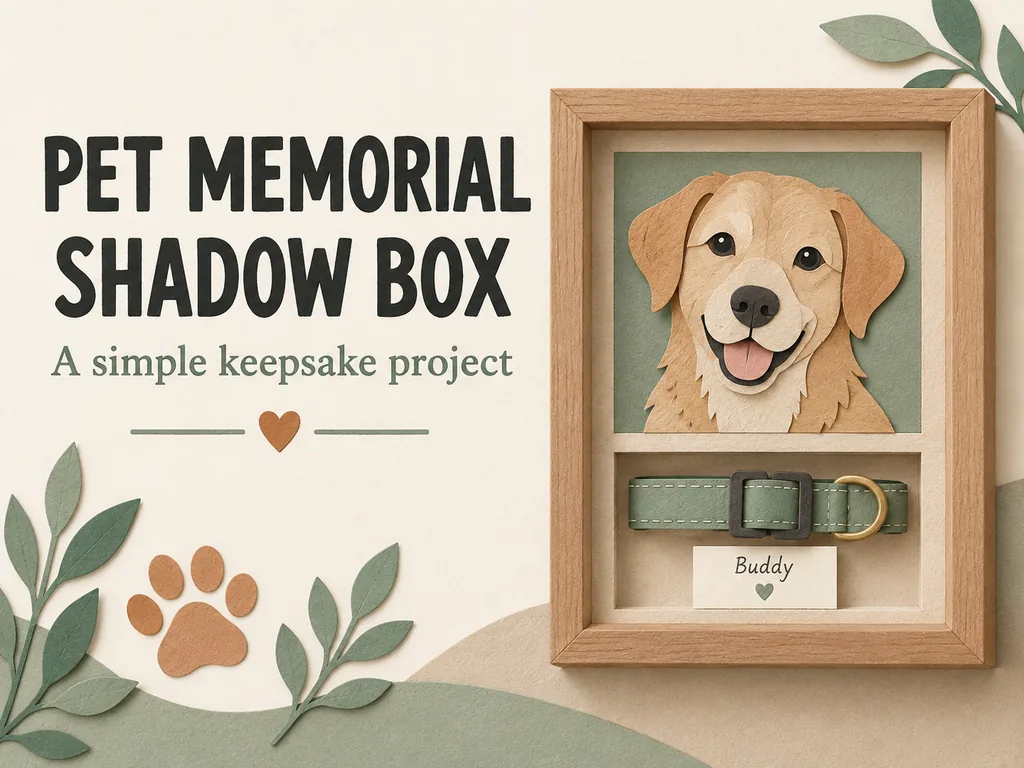
Start with a copy of a favorite photo and one small keepsake, such as a collar or tag. Choose a shadow box with enough usable space for both, try the arrangement without attaching anything, then use a mounting method suited to each item. Check that nothing slips or presses against the front before displaying it.
If the collar is the only thing you feel ready to take out, start with that. You can choose one thing to display without sorting everything else. The frame can wait if you need more time.
Choose a few things to display
A shadow box holds objects in view, usually behind a clear front. A keepsake box stores things you can take out and look through. If you would rather handle the collar occasionally or keep several letters together, creating a pet keepsake box may suit you better.
For a small display, choose a photo copy, one object, and an optional card. A tag can stand in for a bulky harness. A picture of a favorite toy can stand in for the toy itself. Leave food, damp objects, and anything already showing mold out of the frame.
Set aside anything irreplaceable until you have decided how it should be cared for. The Library of Congress recommends displaying reproductions rather than keeping valuable paper originals on permanent display, because light damage is irreversible. A scan gives you a copy to print without cutting or mounting the only photograph you have.
Gather the frame and mounting materials
Put the objects on the table before you buy the frame. A frame that looks generous in a listing may have very little space behind the front. Gather:
- A shadow box that opens for arranging the contents and has suitable backing and display hardware.
- A printed photo copy, plus a separate name or memory card if wanted.
- A ruler, pencil, and scrap paper for testing the layout.
- Photo corners made for photographs, with a compatible mounting board.
- A separate, suitable mount for the collar or other object. Choose this after checking its material, condition, and weight.
For photographs and paper, the National Archives recommends mounting without glue or adhesive on the item. Its examples include photo corners made from acid-free paper or stable plastics. The adhesive side of a self-adhesive corner belongs on the backing, not on the photograph.
A label saying "archival" on one packet does not tell you how every material in the finished frame will behave. For a valuable original, get advice from a conservator or a framer experienced in conservation framing before selecting the whole package.
Plan the layout before attaching anything
Open the empty frame according to its instructions and place the backing on a clear table. Keep the glazing somewhere it cannot fall, and keep small fasteners away from children and pets.
Measure the usable width and height inside the frame. Then check the depth between the installed backing and the clear front, allowing for any mat or other layers. The thickest point may be the collar buckle, not the strap. Exterior dimensions do not tell you this internal clearance.
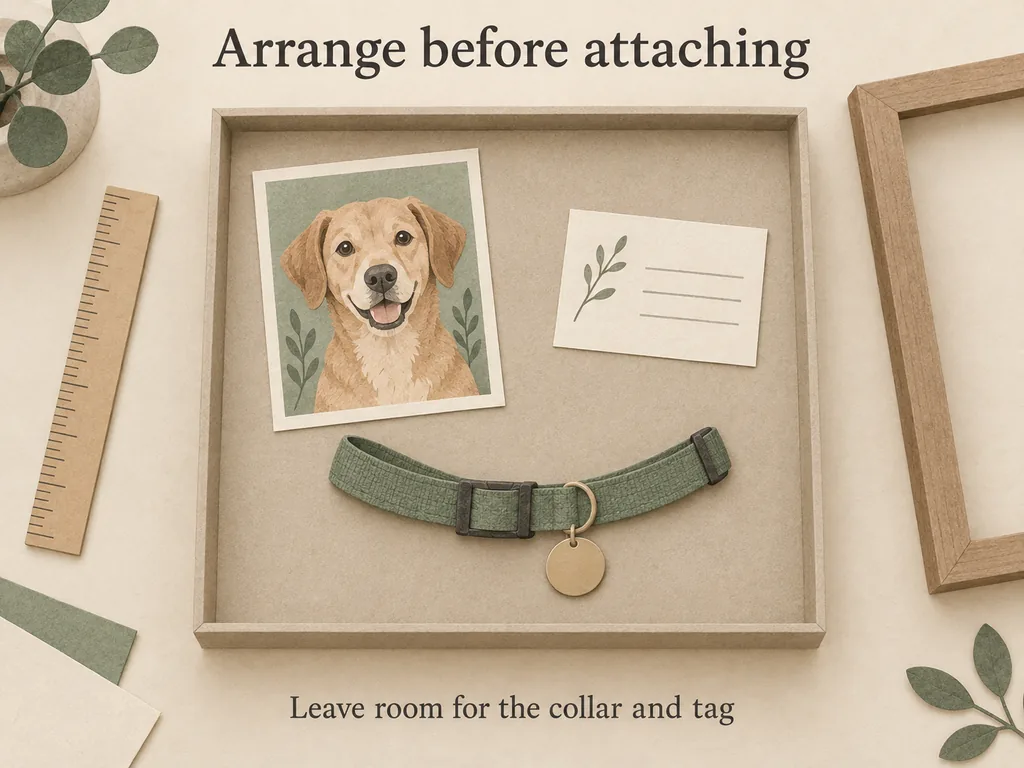
Try the photo above the collar first. Move the tag away from the picture and leave some space around the name card. Does the arrangement still look clear when you step back? Take a phone picture before lifting anything out; it is easy to forget the spacing once the board is empty.
Keep objects clear of the glazing. Do not make the front hold the collar in place by squeezing it against the backing. If you have to force the frame closed, choose a deeper frame or leave an item out.
Mount the photo and collar separately
Hold the photo copy by its edges
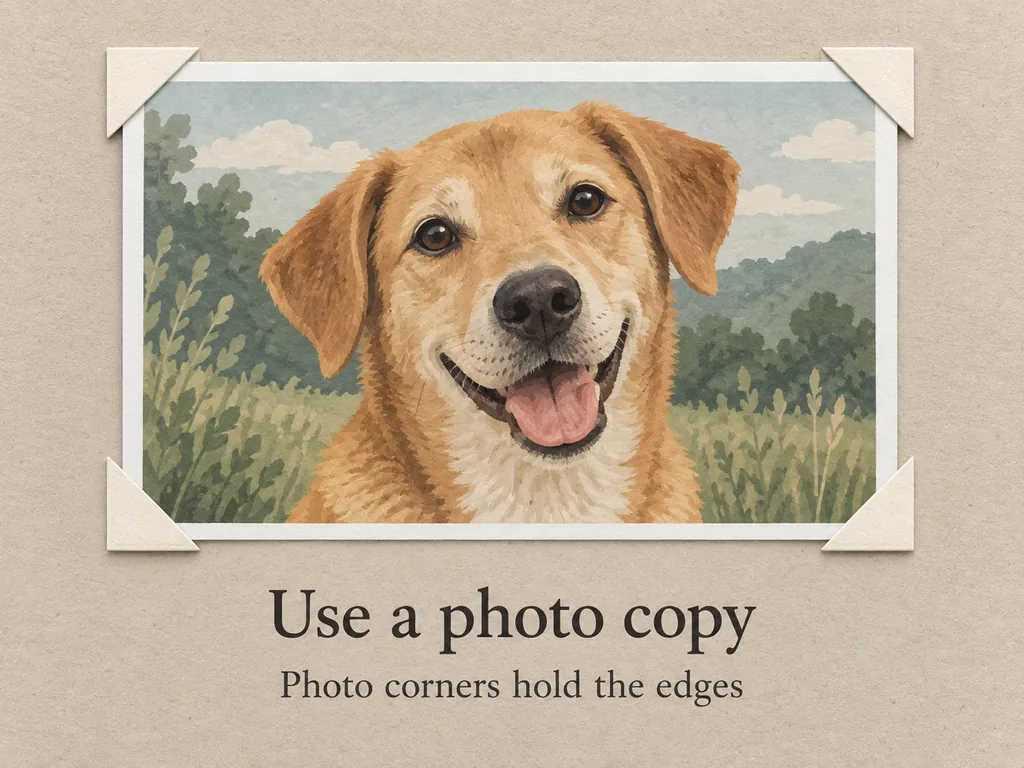
Position the photo corners on the backing so the print can sit flat inside them. Follow the corner manufacturer's instructions. The corners should hold the print without bowing it or covering the part you want to see. Use a separate card for names or dates, rather than writing across an original print.
Test the arrangement with a spare print or a piece of paper cut to the same size. You should be able to remove the picture without pulling adhesive from its surface. Do not use hot glue or an unknown tape on an original photograph.
Choose a collar mount that does not force the material
One craft approach uses slots in a removable board so the collar can pass through and buckle closed. Jennifer Maker's shadow-box tutorial shows a collar threaded through a custom mat. Treat that as a craft option, not a preservation guarantee.
It is only worth considering if the collar is sturdy, the board supports it, and the end passes through without pulling or scraping. Test the slot size on scrap material first. A large quick-release buckle may need a different arrangement. Do not cut the collar, stretch it into place, or force old leather through a tight opening.
For a brittle strap, loose stitching, or a heavy object, stop before improvising with pins, wire, or glue. The Canadian Conservation Institute's textile-care guidance explains why support and material choice matter. A suitable mount depends on the object. Ask a conservation professional about a fragile keepsake, or display its photograph and store the original separately.
Watch the tag, too. It should not swing into the photograph when the frame stands up. If you cannot secure it without risking damage, keep it outside the display for now.
Close the frame and check it upright
With the frame still supported on the table, close it gently. Stop if the backing bows, the front touches an object, or the clips will not close normally.
Support the whole frame as you slowly bring it upright. Check whether the photo shifts, the collar sags, or the tag moves toward the glass. Do not shake the frame to test it. If something moves, lay the frame down and revise the mount before displaying it.
Use the manufacturer's recommended wall hardware or tabletop support for the completed frame. Keep it somewhere pets and children cannot knock it down or reach loose tags, fasteners, or broken glazing.
Choose a display spot
An indoor shelf or wall away from direct sunlight, strong heat, and dampness is a better starting point than a sunny windowsill. Check the display occasionally for slipping mounts or changes to its contents. A closed decorative frame does not provide a guaranteed preservation period.
If you prefer a ready-made frame, compare the usable interior and how it opens, not only the exterior dimensions. Morylane's dog memorial shadow box frame with photo display has its own product details and limitations. Confirm photo replacement and personalization options before ordering; the DIY arrangement here is not a fit guide for that product.
Questions before you start
How deep should a pet memorial shadow box be?
It needs enough usable depth for the thickest object, backing layers, and clearance from the front. Measure your actual collar buckle or keepsake. There is no single depth that fits every project, and an advertised exterior depth is not the usable space inside.
Can I glue the collar or photo into place?
Avoid permanent attachment when you want to keep the item intact. Use a photo copy in suitable corners, and choose an object-specific mount for the collar. "Removable" on a craft adhesive does not establish that it will release safely from an old photograph, leather, or fabric.
What if the favorite toy does not fit?
Photograph it and keep the toy separately. A small picture of the worn tennis ball can sit beside your pet's portrait without changing the toy itself.
Can a shadow box hold ashes?
A decorative shadow box is not automatically an urn. Use a container documented for ashes with a suitable capacity and closure; do not pour ashes into a display frame or an unverified decorative bottle.
Add a short line if you want one. "The collar from our evening walks" gives the object context without needing a polished tribute. For other ways to arrange photos and familiar things, see our pet memorial ideas.